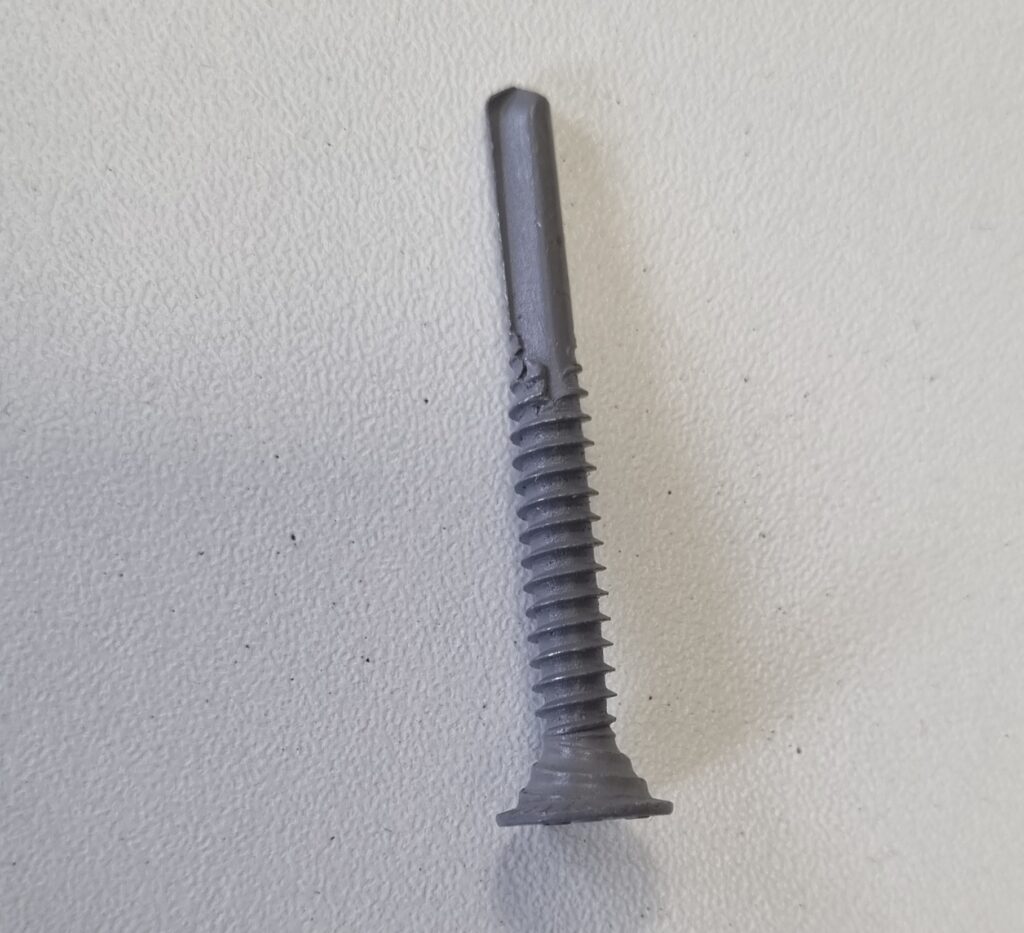
Screwing light gauge steel frames together involves using specific types of screws and techniques designed for metal-to-metal fastening. This process is crucial for ensuring the structural integrity and stability of the framing system. Here are the key aspects to consider when screwing light gauge steel frames together:
Types of Screws Used
1. Self-Drilling Screws: – Description: Also known as Tek screws, these screws have a drill bit-like tip that allows them to cut through metal without the need for pre-drilling holes. They are the most common type used in light gauge steel framing.
– Application: Ideal for joining steel members, attaching sheathing, and securing accessories.
– Material and Coating: Usually made from Stainless Steel or hardened steel and often coated with zinc or other materials to prevent corrosion.
2. Self-Tapping Screws:
– Description: These screws require a pre-drilled hole but can create their own threads as they are driven into the metal.
– Application: Used in situations where precise placement of screws is necessary or when fastening thicker metal sections.
– Material and Coating: Similar to self-drilling screws, they are typically hardened and coated to resist corrosion.
Screw Sizes and Selection- Diameter and Length: The size of the screw, including its diameter and length, should match the thickness of the steel being fastened. Common diameters range from #8 to #14, and lengths vary based on the application.
– Thread Design: Fine threads are often used for thin steel sections, while coarse threads are better for thicker steel or when the screw needs to grip more securely.
Installation Process
1. Pre-Drilling (if necessary): – While self-drilling screws eliminate the need for pre-drilling, in some cases, such as when using self-tapping screws or fastening thicker steel, pre-drilling may be required. Use a drill bit slightly smaller than the screw’s thread diameter.
2. Screw Placement: – Position screws at appropriate intervals as specified by design guidelines or building codes. Proper spacing ensures even load distribution and stability. – Avoid placing screws too close to the edge of steel members to prevent splitting or weakening the connection.
3. Driving the Screws: – Use a power drill or screwdriver equipped with a magnetic bit holder for better control and efficiency. – Apply consistent pressure and speed to avoid stripping the screw head or damaging the steel. It’s important to drive the screw straight to ensure a secure fit. – If using self-drilling screws, drive the screw until it securely fastens the steel members, but avoid over-tightening, which can strip the screw or distort the metal.
4. Inspection and Quality Control: – Check that all screws are properly seated and that connections are tight. Loose screws can compromise the structural integrity of the frame. – Inspect for any signs of metal distortion or damage around the screw heads, which can indicate over-driving or incorrect screw placement.
Safety and Best Practices- Protective Gear: Wear appropriate safety gear, including gloves and eye protection, to guard against sharp edges and metal filings.
– Tool Maintenance: Ensure that power tools are in good working order and that drill bits and screw heads are not worn, as this can affect screw installation quality.
– Building Codes and Specifications: Always follow local building codes, manufacturer guidelines, and structural engineering specifications for the selection and installation of screws.In summary, screwing Strukko light gauge steel frames together requires using the right screws and techniques to ensure secure and durable connections. Proper selection, placement, and installation of screws are critical to the structural performance of the framing system.
Strukko Ltd have all the knowledge and experts close at hand to help wirh the correct screw choice amd application.
